You do not need a lab microscope to catch a worn stylus. You need your ears, a bright light, a cheap loupe or a USB microscope, and a couple of test records. On my bench the fastest wear check is audible — sibilance and inner-groove harshness that survives a clean record and correct setup — and the visual check with a $30 USB scope only confirms what the sound already told me.
This is the practical inspection routine I actually run before I condemn a diamond, in order of cost and effort. Most people skip straight to squinting at the tip and misjudge it, because a stylus that looks fine at 60x can still be flatted, and a filthy tip looks “worn” when it is just dirty. Do the audible and setup checks first, then look. It saves cartridges and it saves money.
Start with your ears, not your eyes
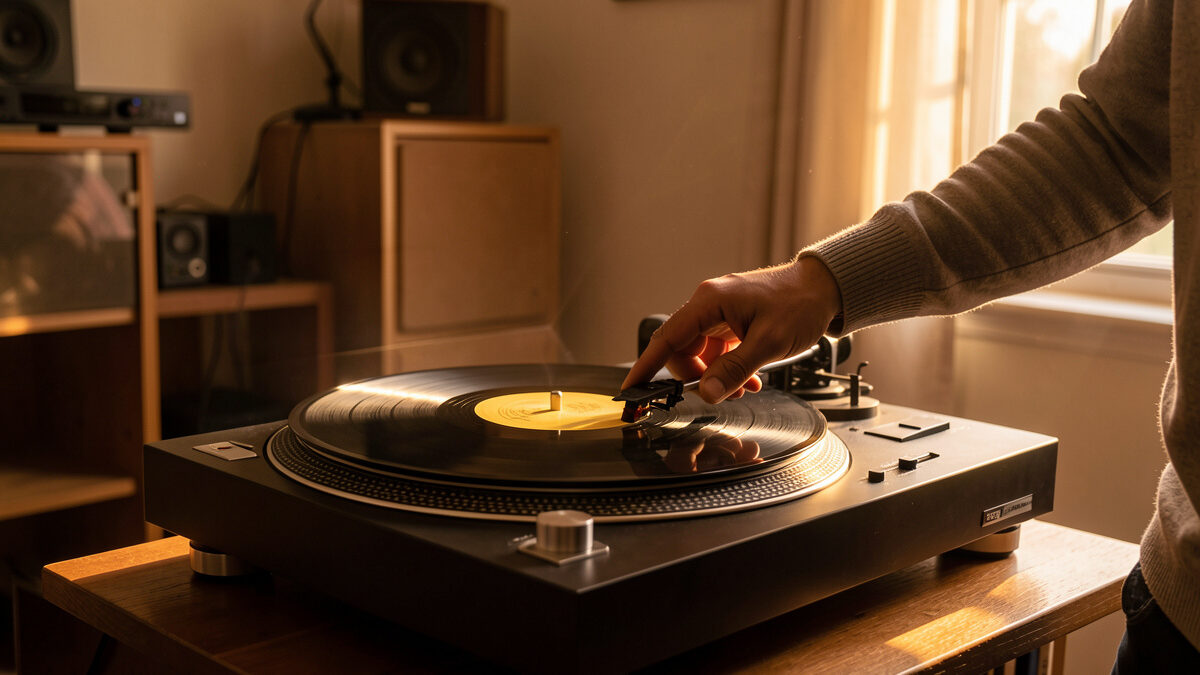
The most sensitive wear detector you own is a female vocal cut near the inner grooves. A worn tip loses the ability to hold both groove walls where the groove is tightest, so “s” and “t” sounds turn spitty and splashy on the last track of a side while the first track still sounds clean. If that pattern repeats across record after record — clean early tracks, harsh late tracks — the diamond is the suspect.
Before you trust that verdict, remove the impostors. Clean the record, because dust mimics every wear symptom. Recheck tracking force against a gauge and confirm alignment, because a misaligned or under-forced cartridge sounds exactly like a worn one. If the harshness only appears on one album, it is a pressing or a dirty record, not wear — my piece on telling stylus damage from mistracking walks that fork. Wear is a whole-collection pattern; problems on single records are not.
Keep two or three “reference” sides you know intimately for this exact test — records you have played enough that any change registers instantly. When a stylus is nearing the end, those familiar sides are where you first notice the top end has gone slightly glassy or the stereo image has narrowed. Trusting a known record beats chasing a fault on unfamiliar music, because you already know how the good version sounds. I keep a jazz vocal side and a busy orchestral side on the shelf next to the deck for nothing else.
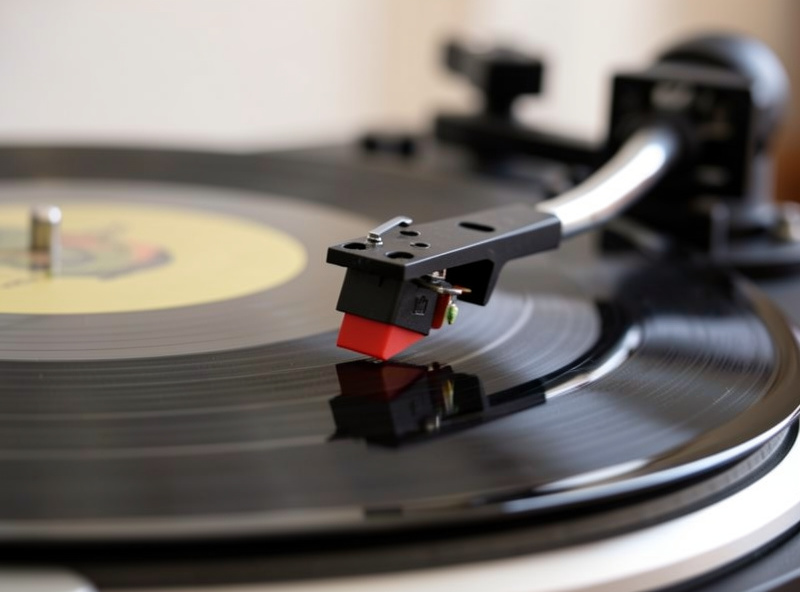
Clean the tip before you judge it
A worn-sounding stylus is dirty far more often than it is worn. Vinyl sheds a fine dust that felts onto the diamond and builds a grey ball around the tip, and that ball dulls the sound, unbalances the channels, and causes mistracking — every symptom of wear. Under a loupe it is obvious once you look: a little grey beard where the clean diamond should be.
Clean it with a soft stylus brush stroked back to front (never side to side or front to back) or a dab of stylus cleaning fluid on the brush. I have “diagnosed” more than one dead cartridge that came back to life after a proper tip clean. Only inspect for wear on a genuinely clean diamond, or you will misread dirt as a flat and buy a stylus you did not need.
The tools that actually work at home
Here is the honest ranking of home inspection methods and what each one can and cannot tell you. You want magnification and raking light — light hitting the tip from the side so the polished wear flat glints while the unworn faces stay dark.
| Tool | Cost | Magnification | What it reveals |
|---|---|---|---|
| Naked eye | Free | 1x | Only a bent cantilever or gross damage |
| Jeweler’s loupe | $10–$20 | 10x–30x | Dirt, obvious chips, rough shape |
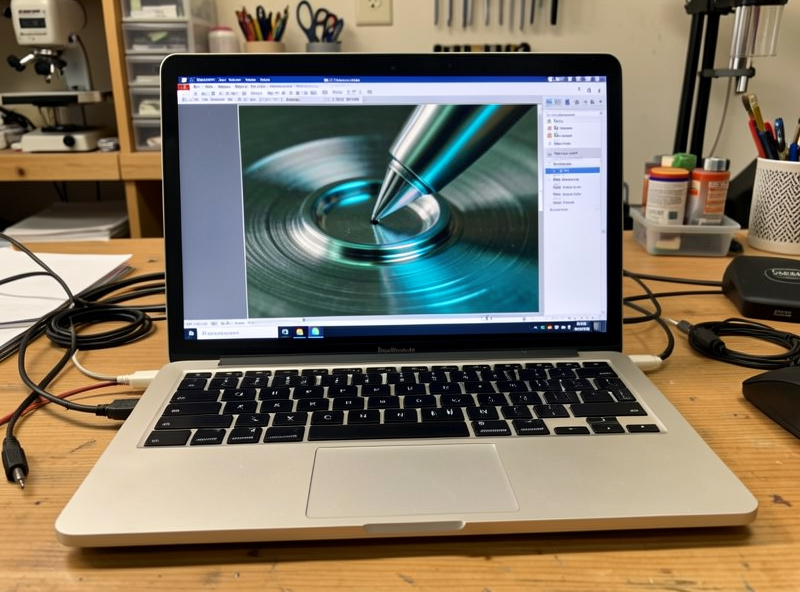
| USB microscope | $30–$60 | 200x–1000x | Wear flats, tip geometry, cantilever alignment |
| Lab microscope | $300+ | 400x+ | Precise flat measurement (overkill at home) |
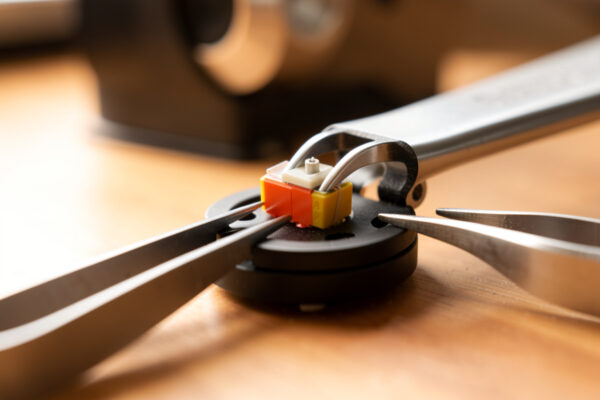
The USB microscope is the sweet spot and the tool I recommend to anyone serious about setup. For $40 you get a screen image of the tip at 200–500x, which is more than enough to see a wear flat as a bright reflective patch on the contact faces. It also doubles as an alignment aid — you can see whether the cantilever sits square. A basic model is one of the highest-value tools in this hobby.
What a worn tip looks like under magnification
A fresh diamond has clean, sharply defined contact faces. Wear shows up as flat, shiny, reflective areas on the two sides that ride the groove walls — that is the polished wear flat, and under raking light it flashes bright while the rest of the tip stays matte. On a conical tip the flat looks like a small bright band across the rounded point; on an elliptical or line-contact tip the flats appear on the narrow contact edges.
The catch is that different profiles wear differently and show it differently, which is why knowing your tip shape matters — I cover the shapes in stylus profiles compared. A line-contact tip can have hundreds of hours of life left and still show a visible contact patch, because it is designed to share the load over a long face. So “I see a shiny spot” is not automatically “replace now.” Read the flat together with the hours and the sound. Big, obvious flats plus audible sibilance plus a high hour count equals done; a faint patch on a low-hour line-contact stylus that still sounds clean equals keep playing.
Check the cantilever and suspension too
Inspection is not only about the diamond. Look at the cantilever — the thin tube the diamond is mounted on — from the front. It should point straight down and sit centered; a bent or cocked cantilever means the cartridge was dropped or the suspension has sagged, and no retip fixes a mangled cantilever. Also watch how the cantilever behaves in play: if it visibly droops into the record or the cartridge sinks lower than it used to, the rubber suspension has hardened, which changes your effective tracking force and demands a rebuild rather than just a stylus.
This is the failure mode that fools people who only look at the diamond. A tip can be geometrically fine and the cartridge still tracks badly because the suspension aged — hours-played is one clock, years-elapsed is the other. If the diamond looks good but the thing tracks poorly and sits low, suspect the suspension. From there you are into the decision I lay out in stylus vs cartridge and retip vs new.
Keeping a simple hours log
The cleanest way to never be surprised by wear is to keep a rough hours tally. You do not need anything fancy — a note that says “mounted March, roughly an album a day” gets you close, since an LP side is about 20 minutes and an album about 40. That lets you compare against the profile’s rated life: a nude elliptical around 600–800 hours, a line-contact past 1,000. I put the full lifespan math in how long a stylus lasts.
How often should you actually look? For a normal listener, a quick loupe check every few months and a proper USB-scope look once a year is plenty — the diamond does not change fast, and obsessive weekly inspection tells you nothing new. What I do inspect every single play is dirt: a two-second glance and a brush stroke before dropping the needle keeps the felted-dust impostor from ever fooling me. Real wear inspection is occasional; tip cleaning is constant.
Combine the three signals — hours, look, and sound — and you will never replace a stylus too early or ride a dead one too long. If two of the three point to wear, act. If only the look is ambiguous but the sound is clean and the hours are low, keep playing and re-check in a few months. That is the whole discipline, and it needs no lab. For the wider picture of where inspection fits, start at the stylus and cartridge wear hub, and if the symptoms point at setup rather than the tip, the setup and calibration guide is the reference.
Related Guides
- Stylus and Cartridge Wear: The Complete Guide
- Stylus vs Cartridge: What You’re Actually Replacing
- How Long Does a Phono Stylus Last?
- Stylus Types Compared: Conical vs Elliptical
- Tracking Force Adjustment Guide
Frequently Asked Questions
Can I check stylus wear without a microscope?
Yes. Your ears are the most sensitive tool: sibilance and harshness on inner-groove vocals that survives a clean record and correct tracking force points to wear. A cheap jeweler’s loupe adds a visual check, but the audible test on a vocal side catches wear before any magnifier does.
What does a worn stylus look like?
Under magnification with raking light, a worn diamond shows flat, shiny, reflective patches on the two contact faces that ride the groove walls. A fresh tip has sharply defined faces; wear polishes bright flats onto them. Match the look against hours and sound before deciding, since line-contact tips show a contact patch normally.
What magnification do I need to inspect a stylus?
A USB microscope at 200x to 500x is ideal and costs about $40. That is enough to see wear flats and check cantilever alignment. A 10x to 30x jeweler’s loupe reveals dirt and gross damage but not fine wear. Lab-grade 400x-plus microscopes are overkill for home use.
Is my stylus worn or just dirty?
Clean it first. Vinyl dust felts into a grey ball around the tip and mimics every wear symptom: dullness, imbalance, mistracking. Brush it back to front with a stylus brush or fluid, then re-listen. Only inspect for true wear on a clean diamond, because dirt is mistaken for a wear flat constantly.
How do I know if it is the stylus or the setup?
Wear is a whole-collection pattern, worst on inner grooves across many records. Setup problems and dirty records usually hit specific albums. Clean the record, verify tracking force with a gauge, and confirm alignment. If harshness survives all three and appears on record after record, it is the diamond, not the setup.
Should I also check the cantilever?
Yes. Look at the cantilever from the front: it should point straight down and centered. A bent cantilever means a drop or a sagged suspension and cannot be fixed by a retip alone. If the cartridge sits low and tracks badly while the diamond looks fine, the rubber suspension has hardened and needs a rebuild.