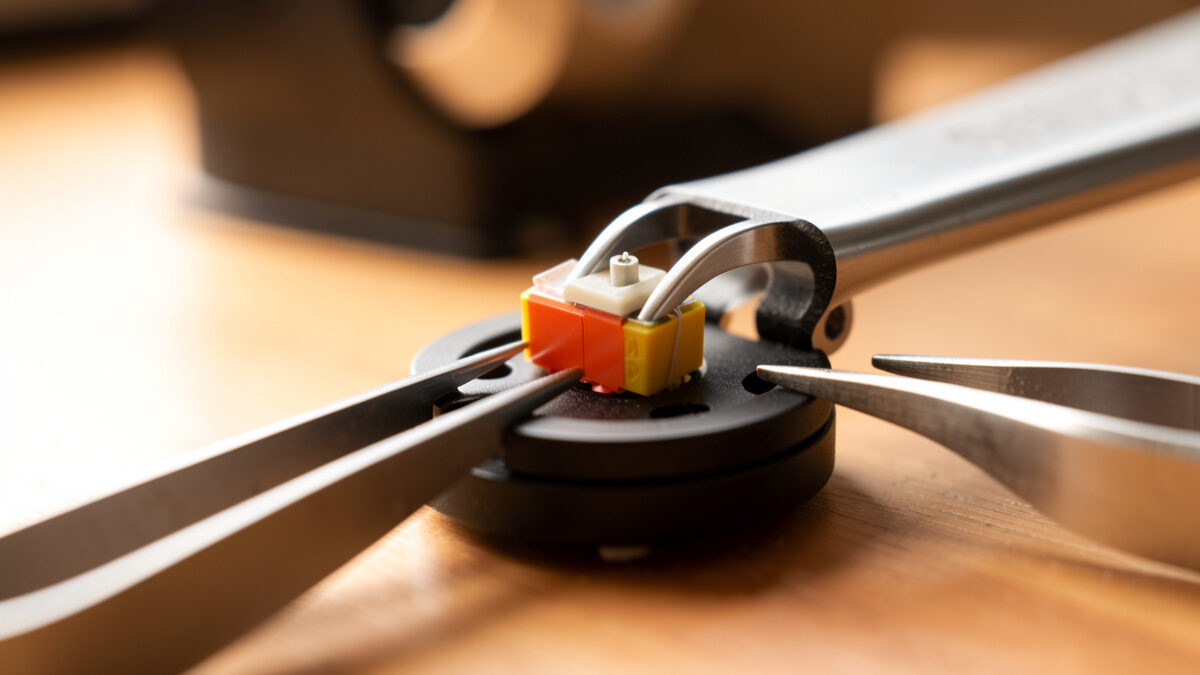
Cartridge shims let you set vertical tracking angle on a fixed-height arm or headshell that has no VTA collar. A thin spacer of roughly 0.5 to 1.5 mm placed under the cartridge, or between the headshell and arm, tilts the cartridge and changes the stylus rake angle by a degree or two — usually all the correction a mismatched cartridge or thicker record needs. It is fiddly, it nudges tracking force slightly, and it genuinely works.
This is the trick that rescues the many good decks whose arms simply do not adjust height. If you run a Rega or any straight arm with a fixed base, or a fixed headshell with no rotation, you cannot spin a collar to dial VTA — but you can shim. I have shimmed cartridges to bring a too-low arm back to parallel more times than I can count, and once you understand what you are actually changing, it stops feeling like a dark art and becomes a five-minute adjustment with a stack of thin washers.
What Is VTA and Why Does It Matter?
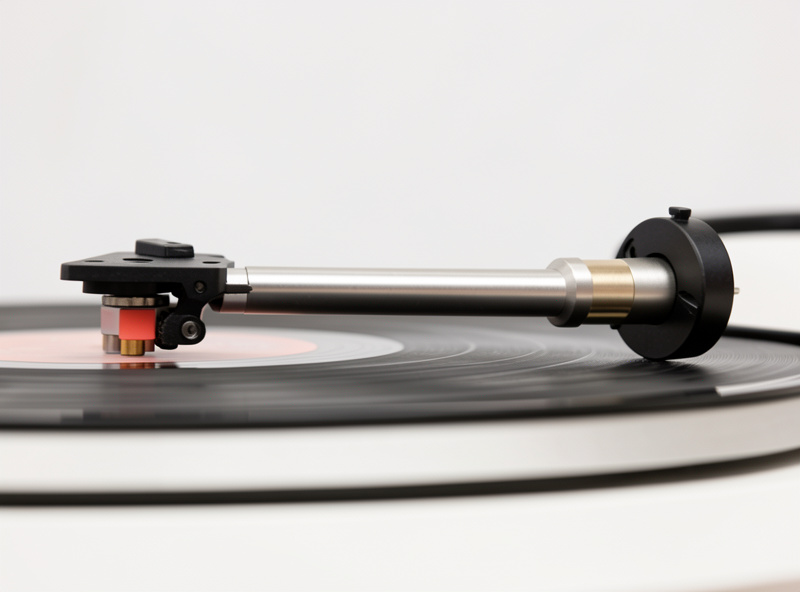
Vertical tracking angle is the angle at which the stylus meets the groove, and what you are really setting through it is stylus rake angle — the tilt of the stylus relative to the record surface, which should roughly match the angle at which the record was cut. Get it close and the stylus reads the groove as intended; get it far off and you lose high-frequency detail and can add distortion.
The practical starting point everyone uses is arm-tube-parallel-to-the-record: with the stylus resting in a groove, the tonearm should run level, front to back. From there you tune by ear, because the “correct” rake depends on the specific cartridge and the record thickness. Raise the back of the arm (or lift the cartridge front) and you increase the angle; lower it and you decrease it. The audible signature of too-high VTA is a thin, bright, sometimes harsh treble; too-low sounds dull and thick with soft leading edges. On an adjustable arm you turn a collar; on a fixed one, you shim, which is the whole reason this technique exists. The broader setup context this fits into is laid out in the turntable headshell guide and the full calibration guide.
Why Would a Fixed Headshell Need Shims?
A fixed headshell or fixed-height arm has no built-in way to change cartridge height, so if your cartridge’s body geometry or your records leave the arm running downhill or uphill at the pivot, a shim is the only way to bring the rake angle back into range. Different cartridges have different heights, so a cartridge that is shorter than the arm was designed around leaves the arm nose-down.
This comes up constantly when you fit a cartridge the arm was not voiced for. Say your fixed arm was designed around a 17 mm-tall cartridge and you mount a 15 mm one — the front of the arm now sits low, the rake angle is off, and there is no collar to fix it. A shim under the cartridge lifts the front back up. The same thing happens with thick 180 or 200 gram pressings, which raise the record surface and effectively tilt the arm nose-up; a small shim compensates if you play a lot of heavy vinyl. Fixed arms like those on many fixed-headshell decks handle base-level VTA with spacers under the arm pillar where the design allows, but where it does not, shimming under the cartridge is the answer, and it is entirely reversible.
What Can You Use as a Cartridge Shim?
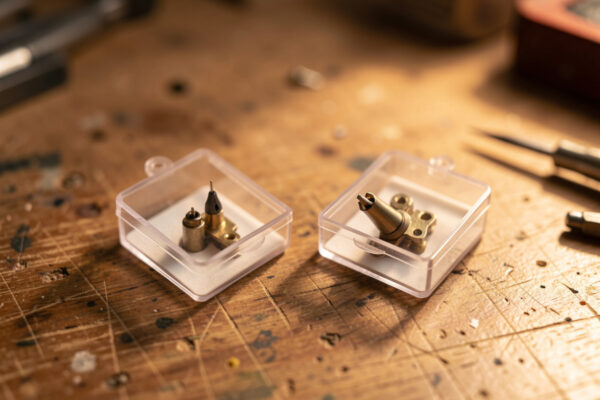
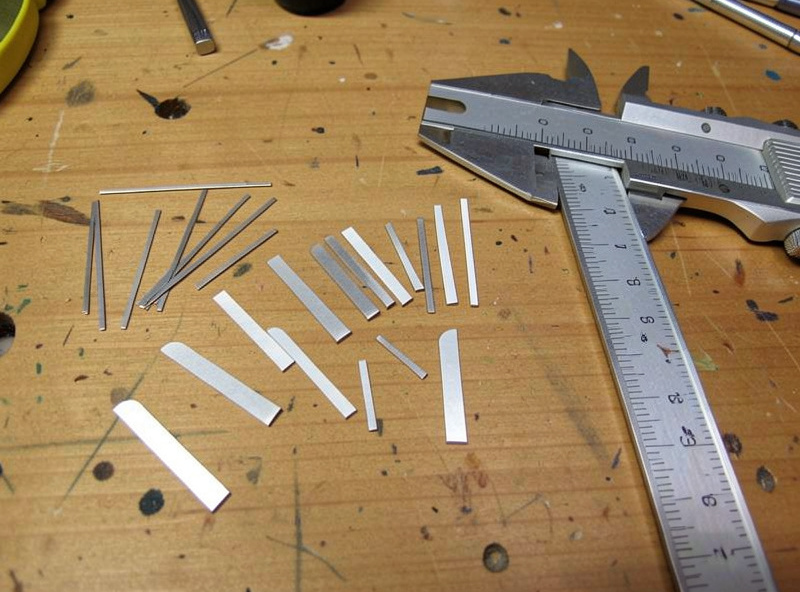
Good shims are thin, flat, rigid, and stable: purpose-made cartridge shims, thin metal or hard-plastic washers sized for M2.5 screws, or even carefully cut rigid card for a temporary test. Avoid anything soft, spongy, or compressible — a squishy shim adds an unwanted spring into the mounting and defeats the rigidity the whole assembly depends on.
My rule is that a shim must be as dead and hard as the parts it sits between, because you are extending the mechanical path from cartridge to arm and any softness there muddies the coupling. Thin rigid washers in known thicknesses are ideal because you can stack them predictably — two 0.5 mm shims give a repeatable 1.0 mm. I keep a small assortment in graduated thicknesses and a caliper to confirm what I am actually adding, since “about a millimeter” is not good enough when a degree of rake is at stake. Cut card works for a quick is-this-even-the-right-direction test, but I would not leave it in permanently because it compresses and absorbs humidity. Whatever you use, it has to clear the mounting screws and sit flat, without bridging unevenly and tilting the cartridge sideways, which would throw off azimuth while you are trying to fix rake.
How Much Does a Shim Change the Angle?
As a rough guide, every 1 mm of shim under the cartridge changes stylus rake angle by roughly a degree and a half to two degrees, depending on the arm’s effective length — a longer arm changes angle less per millimeter of lift. Since useful VTA corrections are usually only a degree or two, shims in the 0.5 to 1.5 mm range cover almost every case.
The reason the exact figure varies is geometry: the shim lifts the cartridge at the headshell, and that lift translates into a rake-angle change scaled by how far the stylus sits from the arm pivot. You do not need to compute it precisely, because you are going to tune by ear anyway, but it helps to know that small numbers matter here — a half-millimeter shim is a real, audible change, not a rounding error. Start with the arm visually parallel, add or remove a half-millimeter at a time, and listen for the treble to snap into focus without going thin. Change one shim increment, play the same familiar passage, and judge. This is slow, deliberate work, and rushing it means chasing your tail between too-bright and too-dull without ever landing in the middle.
How Do You Set VTA with Shims Step by Step?
Start with the arm parallel to the record as a baseline, then add shims under the cartridge to raise its front (lowering rake) or thin the stack to drop it (raising rake), re-checking tracking force after every change because shimming alters the stylus’s resting height and therefore the downforce. Tune in half-millimeter steps by ear until the treble is detailed but not harsh.
Here is the sequence I run. Set the arm level with the stylus in a groove and confirm tracking force is correct at that baseline. Play a track with plenty of top end and cymbals — those leading edges are where rake errors show. If it sounds thin or hard, the angle is too high, so add a shim to lift the front and bring it down. If it sounds dull and blunted, remove shim thickness. After each shim change, re-measure tracking force with a gauge, because lifting the cartridge changes the geometry enough to shift the downforce by a few hundredths of a gram, and then re-listen. The mistake I made early was adjusting VTA and forgetting to re-check force, so I was hearing the combined effect of two changes and could not tell which did what — change one thing, re-verify force, then judge the sound. When the treble is clean and extended and the bass stays solid, stop. Do not chase perfection past the point of audible improvement.
For the underlying geometry stated formally, the stylus rake angle and cutting-angle conventions are described in industry references and cartridge documentation from makers like Audio-Technica and Ortofon, whose setup notes cover recommended arm-height starting points for their cartridges. Shimming is unglamorous, but it is the difference between a fixed arm that merely plays and one that reads the groove the way the cut intended — and it costs a few washers and a careful hour.
Can you adjust VTA on a turntable without an adjustable arm?
Yes. Cartridge shims or headshell spacers of roughly 0.5 to 1.5 mm placed under the cartridge tilt it and change stylus rake angle by a degree or two, substituting for a VTA collar on a fixed-height arm. Re-check tracking force after shimming, because it changes the cartridge resting height.
How thick should a cartridge shim be?
Most useful corrections need only 0.5 to 1.5 mm of shim, because every millimeter changes stylus rake angle by roughly one and a half to two degrees and typical corrections are just a degree or two. Use thin, rigid washers in known thicknesses so you can stack them predictably and tune in half-millimeter steps.
What can I use as a cartridge shim?
Use thin, flat, rigid, stable material: purpose-made cartridge shims, thin metal or hard-plastic washers sized for M2.5 screws, or rigid card for a temporary test. Avoid anything soft or compressible, because a spongy shim adds an unwanted spring into the mounting and degrades the mechanical coupling between cartridge and arm.
How do I know if my VTA is set correctly?
Start with the arm parallel to the record, then tune by ear on a track with strong treble and cymbals. Too-high VTA sounds thin, bright, or harsh; too-low sounds dull and thick. Adjust shim thickness in half-millimeter steps until the treble is detailed without harshness and the bass stays solid.
Keep Building
- Turntable Headshell Guide: Wiring, Weight, Mounting & VTA
- Universal vs Fixed Headshells: Which Tonearm Mount You Have
- Headshell Weight and Tonearm Resonance: Getting the Match Right
- Tracking Force Adjustment Guide for Turntables