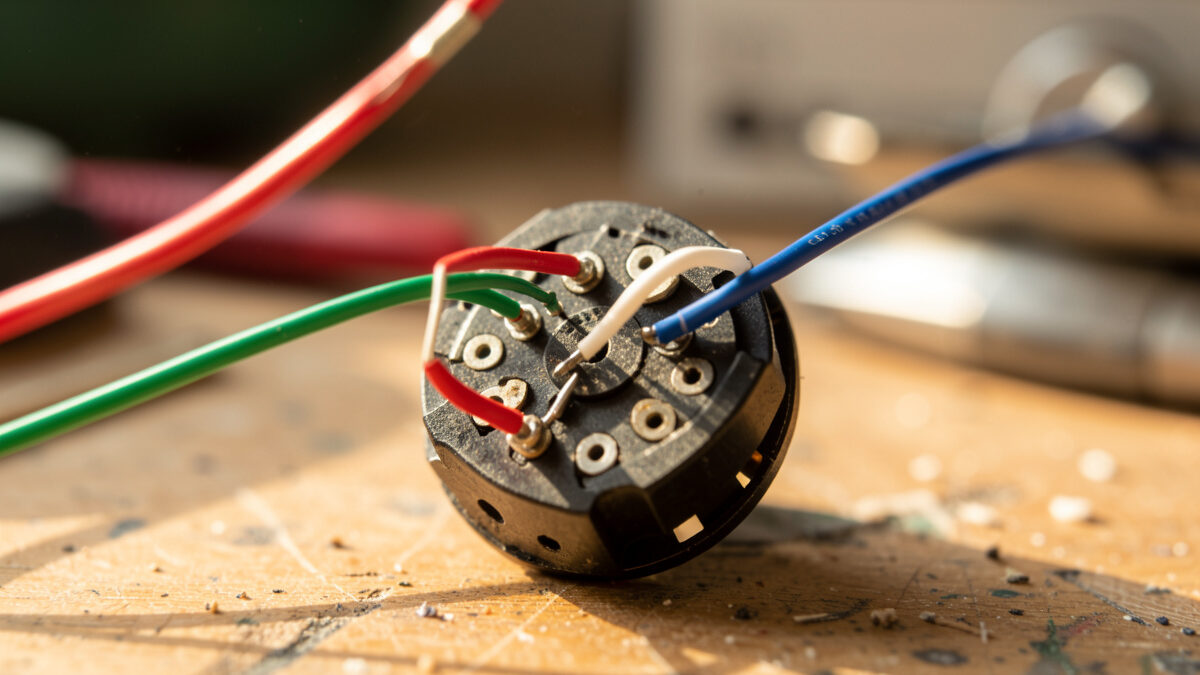
Headshell wiring follows one universal color code: red is right positive, green is right negative, white is left positive, and blue is left negative. The four leads clip to matching lettered pins on the back of the cartridge — R+, R−, L+, L− — so wiring a headshell is a match-the-colors-to-the-letters job that takes about five minutes once you stop being afraid of it.
The reason it feels intimidating the first time is that the parts are tiny and the signal is fragile. These leads carry a phono-cartridge output measured in fractions of a millivolt, and the sprung clips on the ends are delicate enough to bend if you look at them wrong. But the logic is dead simple, and getting it right is the difference between a deck that images properly and one that sounds thin, hollow, or channel-swapped for reasons you will chase for an hour. I have made the classic mistakes — I will show you exactly what they sound like so you can recognize them.
What Do the Four Headshell Wire Colors Mean?
The four cartridge lead colors map to the two stereo channels: red carries right-channel positive, green carries right-channel return, white carries left-channel positive, and blue carries left-channel return. This is a genuine industry standard, so a cartridge from Audio-Technica and a headshell from a different maker use the same colors.
The memory hook I have used for years is that the two warm-adjacent colors go together and the two cool ones go together — red and green are the right-channel pair, white and blue are the left-channel pair. On the cartridge body the pins are stamped with letters: R and a second R (or a ground symbol) on one side, L and L on the other. Red goes to R+, green to R−, white to L+, blue to L−. The colors have been consistent across the hobby for decades precisely so that when you buy replacement leads or a new headshell, nothing has to be re-learned. On my Audio-Technica VM95-series cartridges the pin layout is molded right into the plastic, and I still glance at it every single time rather than trust my memory, because the cost of guessing wrong is a re-do.
How Do You Actually Attach the Leads to the Cartridge?
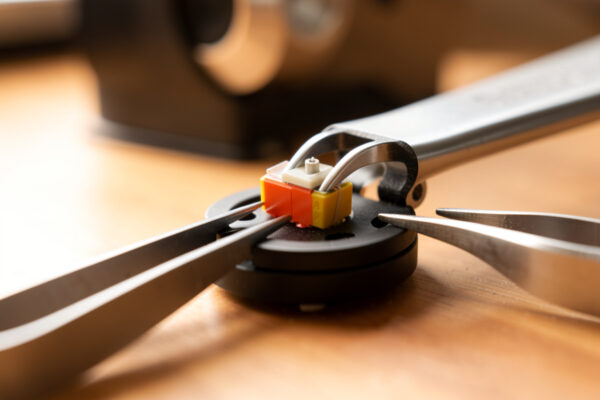
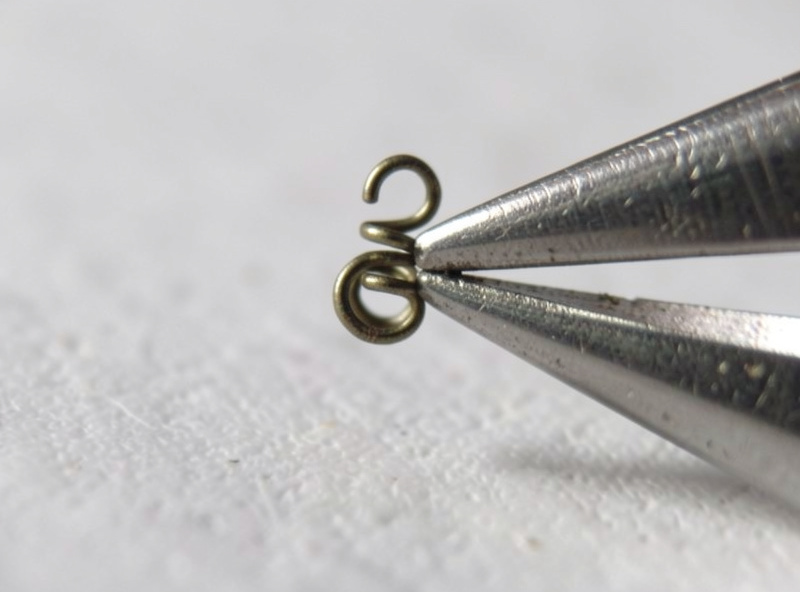
You attach each lead by sliding its sprung clip straight onto the matching cartridge pin until it clicks and grips lightly. Work one wire at a time, hold the clip with fine tweezers or needle-nose pliers, and push it on axially — never at an angle — so you do not bend the pin or splay the clip.
The order I use keeps the wires from tangling: I do the two far-side pins first (the ones hardest to reach once the near ones are on), then the two near pins. Each clip should require a gentle, positive push and then hold on its own — if it slides on with zero resistance, it is too loose and will drop off mid-play; if you are fighting it, the clip is too tight and you risk bending the pin. The clips are the real skill here, more than the colors. A properly tensioned clip is the whole game, and it is why fresh leads so often “fix” a channel problem — I dig into that in upgrading headshell leads. Take your time; this is not a step to rush, and good light plus magnification makes it trivial instead of maddening. The broader mounting workflow this fits into is laid out in the turntable headshell guide, and if you are not even sure whether your arm has a removable headshell to wire in the first place, start with universal vs fixed headshells.
What Happens If You Wire a Headshell Wrong?
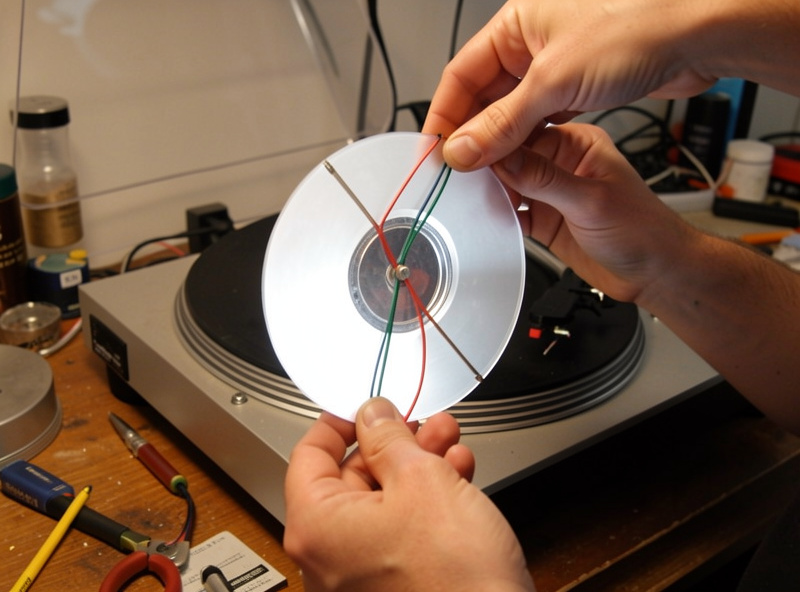
There are two distinct wiring errors and they sound completely different. Swapping the left and right pairs swaps your channels — the vocalist moves to the wrong side, but everything otherwise sounds normal. Swapping the two wires within one channel wires it out of phase, which collapses the center image, thins the bass, and makes the whole record sound wrong.
The channel swap is the harmless one and the easiest to catch: play a record you know, and if the instrument you expect on the left is on the right, you have red-and-white reversed. Fix it by swapping those two clips. The phase error is the nasty one because it does not sound like a wiring fault — it sounds like a bad pressing or a broken cartridge. Out-of-phase, the two channels partially cancel, so bass goes weak and the vocal that should sit dead center smears out across the soundstage. The first cartridge I ever mounted had exactly this fault; I spent twenty minutes convinced the record was defective before I pulled the headshell, held it to the light, and saw I had green and red reversed on the right channel. Since then I check phase with a simple mono test — a mono record or a mono track should snap to a tight center image, and if it does not, a channel is out of phase.
How Do You Test the Wiring Before You Trust It?
The fastest test is auditory: play a mono track and listen for a tight, centered image with full bass. If the center is solid and the bass is present, both channels are in phase and correctly assigned. A hollow, wide, bass-light sound on mono means one channel is reversed.
If you want certainty, a multimeter on the continuity setting confirms which pin connects to which without any guessing — touch one probe to a cartridge pin and the other to the corresponding tonearm output pin at the far end. But honestly, the ear test catches every wiring fault I have ever made, and it needs no tools. After the mono check I play a stereo record I know intimately and confirm the channels are on the correct sides. Only then do I move on to alignment, because there is no point setting overhang and tracking force on a cartridge that turns out to be miswired. A miswired channel can also masquerade as other faults — if you are hearing dropouts or crackle rather than a phase problem, work through the crackle diagnostic and clean the contacts before you blame the wiring.
Why Do Headshell Wires Cause Intermittent Problems?
Intermittent channel dropouts almost always trace to a loose clip or an oxidized connection, not a broken wire. A clip that has lost its spring tension makes contact when the deck is still and breaks it when the arm moves across the record, producing a channel that fades in and out with no obvious pattern.
This is the failure mode that drives people to replace cartridges they did not need to replace. Before you condemn a cartridge, pull the headshell, inspect each clip, and gently re-tension any that feels loose by squeezing the clip’s open end a hair with tweezers — go slowly, because these split-tube clips snap if you overdo it. Oxidation on the pins or clips causes the same symptom and cleans off with a contact swab. When I buy a used cartridge or headshell, re-tensioning and cleaning the four clips is the first thing I do, before I even mount it, because a decades-old clip has almost always relaxed. If you are rewiring a whole tonearm rather than just the headshell, the same care applies end to end, which is part of what a proper tonearm rewire involves.
Do Nicer Leads or a Nicer Headshell Change the Sound?
A fresh, well-fitting set of leads absolutely changes the sound if the old ones were oxidized or loose — you are restoring a connection that was quietly failing. Beyond that, the exotic-metal claims run well ahead of anything measurable at this signal level. Fix the connection first; chase metallurgy never.
I keep a spare set of decent copper leads on the bench and swap them into any used headshell that comes through, not because copper is magic but because I trust clips I have inspected over clips of unknown age. The physics that matters here is contact integrity, not conductor exotica. If a channel is weak or scratchy, ninety percent of the time the answer is a clip that needs re-seating or a pin that needs a clean, and the remaining ten percent is somewhere else in the chain entirely — the phono stage, the arm wiring, or the interconnects. Wiring the headshell correctly and keeping those four little clips tight and clean is unglamorous, foundational work, and it is the layer every alignment guide silently assumes you have already gotten right. Get it right once, check it when something sounds off, and it will serve you for years.
If you want the color code straight from a cartridge maker, the pin assignments used across the Audio-Technica VM range and Ortofon 2M range follow the same red/green/white/blue standard described here — worth confirming against your own cartridge’s documentation before you clip anything on.
What color is the right channel on a headshell?
Red is right-channel positive and green is right-channel negative. The two right-channel leads are always the red and green pair, which clip to the R plus and R minus pins on the back of the cartridge.
Does it matter which way the cartridge clips go on?
Yes. Each clip must go on the pin whose letter matches its color: red to R plus, green to R minus, white to L plus, blue to L minus. Reversing the two clips on one channel wires it out of phase, which thins the bass and smears the center image.
How do I fix a loose cartridge clip?
Remove the clip and gently squeeze its open end a fraction with fine tweezers to restore spring tension, then slide it back onto the pin. Go slowly, because these split-tube clips can snap if you compress them too far.
How can I tell if my headshell is wired out of phase?
Play a mono track and listen to the center image. In phase, a mono signal produces a tight, solid center with full bass. Out of phase, the sound goes hollow and wide with weak bass, which means one channel’s two leads are reversed.
Related Guides
- Turntable Headshell Guide: Wiring, Weight, Mounting & VTA
- Upgrading Headshell Leads: Snake Oil or Real Gain?
- Universal vs Fixed Headshells: Which Tonearm Mount You Have
- Turntable Tonearm Upgrade Guide: Rewire, Headshell, or New Arm
- Crackle on Every Record: Static, Dust, or Worn Stylus?