Ultrasonic cleaning is the deepest clean you can give a record short of professional restoration, and it is also the most over-hyped and most misunderstood. It works by sending high-frequency sound waves through a fluid bath, creating microscopic cavitation bubbles that collapse inside the groove and lift contamination a brush or pad can never reach. For a large collection or a steady supply of dirty used records, it is transformative. For a handful of mostly clean records, it is overkill. Here is how it actually works and how to decide if it belongs on your bench.
I run records through ultrasonic cleaning when manual methods hit their limit: deep groove grime, decades-old crate finds, and mold that needs more than a pad can deliver. What it is not is a magic noise eraser. It removes dirt, not damage, and like every method it cannot fix a pressing defect. Used in the right place it is the best clean available, and that is the framing this guide keeps.
How Ultrasonic Cleaning Actually Works
An ultrasonic cleaner uses a transducer to vibrate the fluid at frequencies typically in the 35 to 40 kHz range for records. Those vibrations create cavitation: countless tiny bubbles that form and violently collapse, scrubbing every surface the fluid touches, including the inside walls of the groove. Because the fluid reaches where no physical tool can, the cleaning is far more thorough than wiping. This is why ultrasonic earns its place at the deep-clean end of the methods in my complete record cleaning guide.
Frequency matters. Lower frequencies produce larger, more aggressive bubbles; higher frequencies produce finer, gentler ones. For vinyl, the mid-30s to 40 kHz range is the sweet spot, cleaning effectively without being harsh on the delicate groove. Most purpose-built and DIY record setups land in that window for exactly that reason.
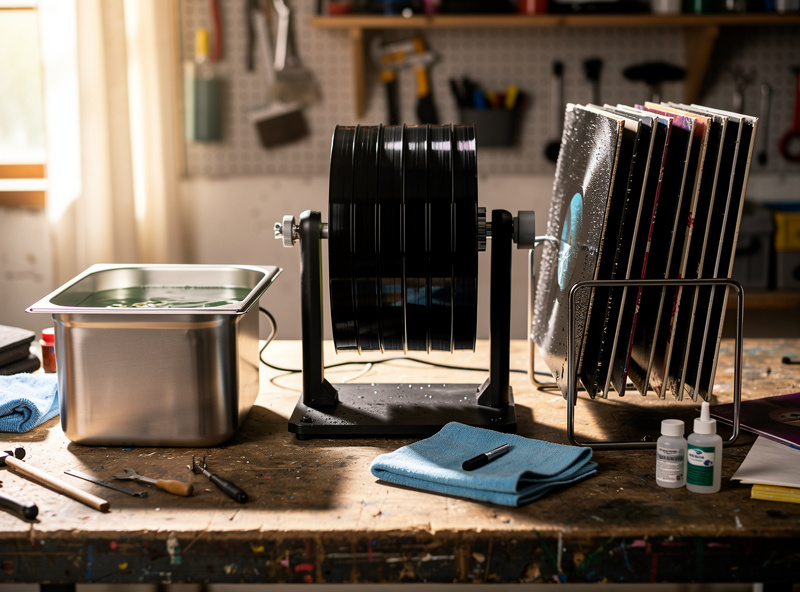
DIY Versus Commercial Ultrasonic Cleaners
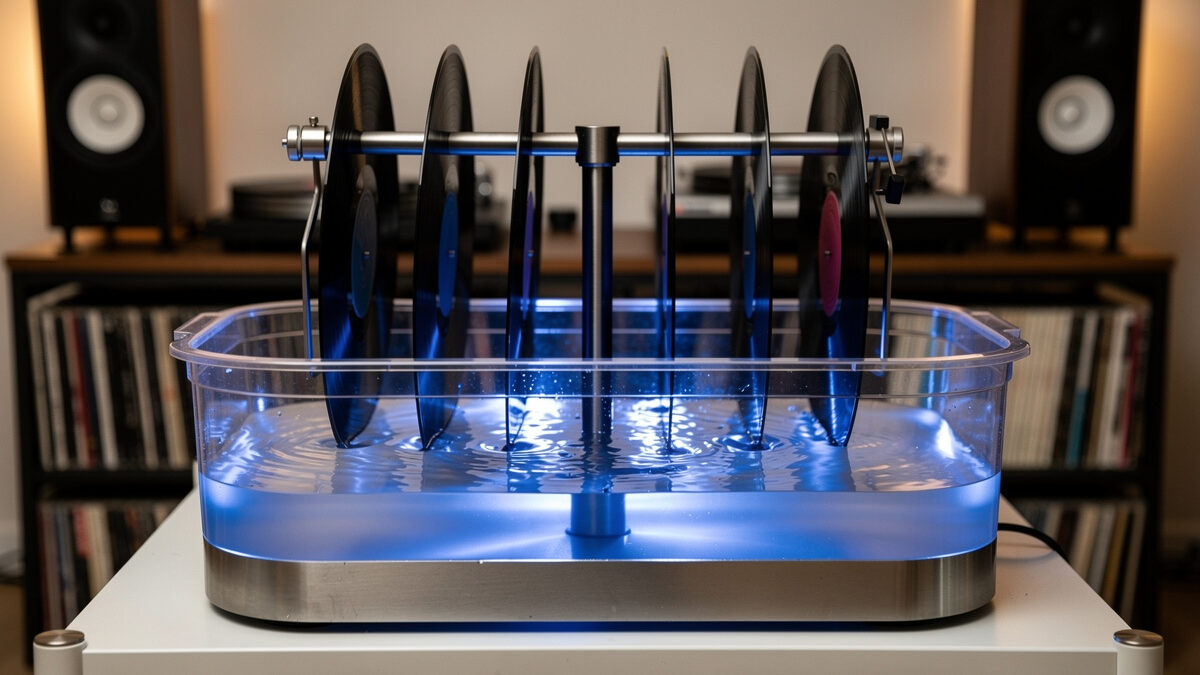
There are two routes into ultrasonic cleaning. Commercial record-specific machines arrive ready to go with the right frequency, a record-rotation spindle, and often a drying system, at a premium price. The DIY route pairs a generic ultrasonic tank with a slow-turning motor spindle to rotate the records through the bath, at a fraction of the cost but with more fiddling. I have run both, and the choice comes down to budget and how much tinkering you enjoy.
The DIY path centers on a generic ultrasonic cleaner tank in the right frequency range plus a record rotation spindle to turn the records slowly through the water. Whichever route you take, the bath should be distilled water with a tiny amount of surfactant, never tap water, so nothing is left in the groove.
As an Amazon Associate I earn from qualifying purchases. These are the kinds of components I use in my own DIY ultrasonic setup.
Ultrasonic Options Compared
Here is how the routes stack up, so you can match the spend to your collection. The honest answer for most people with a small, mostly clean collection is that manual cleaning is enough and ultrasonic is a luxury. It earns its cost on volume and on dirty used records.
| Option | Cost | Setup Effort | Best For |
|---|---|---|---|
| DIY tank + spindle | Medium | High (assembly, tuning) | Tinkerers, value seekers |
| Commercial record machine | High | Low (plug and play) | Large collections, convenience |
| Manual wet clean | Low | Low | Small, mostly clean collections |
| Vacuum machine | Medium-High | Low | Fast repeatable surface cleaning |
Fluid, Temperature, and Cycle Time
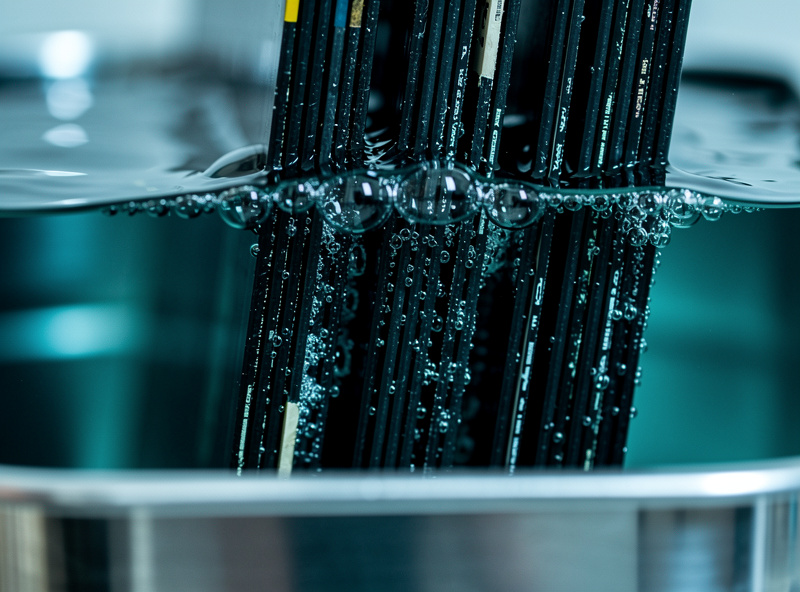
The bath is distilled water with a few drops of a record-safe surfactant to break surface tension; that is it. Skip the additives people throw in, and never use tap water, which deposits minerals. A mild warmth helps cavitation, but high heat risks the vinyl, so keep the water comfortably warm at most rather than hot. Cycle time of a few minutes per batch is plenty; longer is not better and just adds heat.
Rotation speed matters too. The record should turn slowly through the bath so every part of the groove gets time in the cavitation field, but not so slowly that one section overheats. A slow, steady spindle is the heart of a good setup. After the cycle, the records need to dry completely before sleeving, either air-dried upright or with a fan, because trapping moisture invites mold just as it does after a manual wet clean covered in my wet cleaning guide.
Prep the Record Before It Goes in the Tank
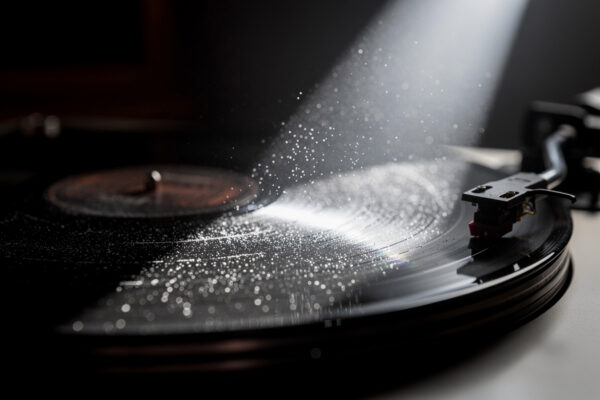
Ultrasonic cleaning is powerful, but it is not an excuse to skip prep. A record caked in loose dust will just shed that dust into the bath, contaminating the fluid for every record after it. I give every record a quick dry brush to remove surface dust before it goes in, and for genuinely filthy records I do a rough manual wipe first so the ultrasonic bath is dealing with embedded grime rather than gross dirt. This keeps the bath cleaner and the results better.
Fluid maintenance is part of the routine too. The bath gets dirtier with every record, so change it when it visibly clouds, and always start a session with fresh distilled water for the best results on the records you care most about. Running ten dirty records through the same tired bath means the last few are being cleaned in dirty water. Treat the fluid as a consumable, not a permanent fill.
Common DIY Ultrasonic Mistakes
The DIY route is where most errors happen, and they are easy to avoid once you know them. Running the tank too hot is the big one: heat builds during operation, and excessive heat can warp a record, so monitor it and keep the water comfortably warm rather than hot. Spinning the records too fast is the second, because each section of groove needs time in the cavitation field to actually get clean. A slow, steady rotation is the goal.
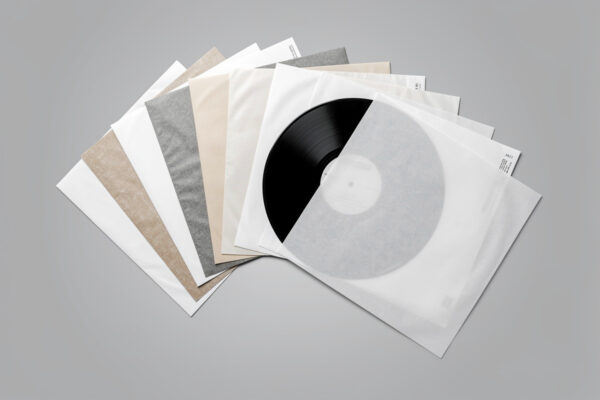
Submerging the label is another avoidable mistake; most spindle setups hold the record so only the playing surface is in the fluid, keeping paper labels dry. And as with every wet method, the cardinal sin is sleeving a record before it is bone dry. Let it air-dry fully or use a fan, then put it straight into a fresh anti-static inner sleeve. Get those four things right and a DIY rig rivals machines costing far more.
Is Ultrasonic Cleaning Worth It?
For the right user, absolutely. If you have a large collection, buy a lot of used records, or simply want the most thorough clean available and run it hands-off in batches, ultrasonic is the best result you can get at home. The deep groove cleaning genuinely surpasses what a hand can do, and the batch workflow makes cleaning a stack practical instead of a chore.
For everyone else, it is a hard sell. A small collection of mostly clean records is well served by a brush and a manual wet clean at a fraction of the cost. Buy ultrasonic when volume or dirty records make the manual method a bottleneck, not before. If you are still comparing machine types and prices, my best record cleaners roundup lays out the full field, and the broader record care guide puts cleaning in context with storage and handling.
Frequently Asked Questions
What frequency is best for ultrasonic record cleaning?
The mid-30s to 40 kHz range is the sweet spot for vinyl. It cleans the groove effectively while being gentle enough not to risk the delicate surface. Lower frequencies are more aggressive than records need.
Can I build a DIY ultrasonic record cleaner?
Yes. Pair a generic ultrasonic tank in the right frequency range with a slow-turning motor spindle to rotate records through a distilled-water bath. It costs far less than a commercial machine but takes assembly and tuning.
What fluid goes in an ultrasonic record cleaner?
Distilled water with a few drops of a record-safe surfactant to break surface tension. Never use tap water, which leaves mineral residue, and skip aggressive additives that can harm the vinyl or label.
How long should an ultrasonic cycle run?
A few minutes per batch is plenty. Longer cycles do not clean better and mainly add heat, which you want to avoid. Keep the water warm at most, never hot, to protect the vinyl.
Does ultrasonic cleaning remove scratches or pops?
It removes dirt and deep groove grime, not damage. Scratches and pressing defects are physical and permanent. Ultrasonic gives the deepest clean available at home, but it cannot fix a defect molded into the record.
Is ultrasonic cleaning worth it for a small collection?
Usually not. For a small, mostly clean collection a brush and manual wet clean cover the need for far less. Ultrasonic earns its cost on large collections and lots of dirty used records.