A DIY turntable isolation platform that actually works comes down to three layers in the right order: a heavy, rigid top, a lossy damping layer in the middle, and compliant decoupling feet underneath. Build that stack and you get most of the performance of a commercial isolation platform for a fraction of the cost. On my bench I have built several, and the layered version under my Pro-Ject X2 measured close to a engineered platform costing many times more — the physics does not care whether you paid for the brand.
As an Amazon Associate I earn from qualifying purchases. This is a genuinely satisfying weekend project, and it is where my workshop habit meets the listening room: the same care that goes into a flat router base goes into a platform that holds a deck steady. Here is exactly how I build one, the materials, and the mistakes to avoid. For how a DIY platform fits among feet, walls, and furniture, see the complete turntable isolation guide.
The Three-Layer Stack
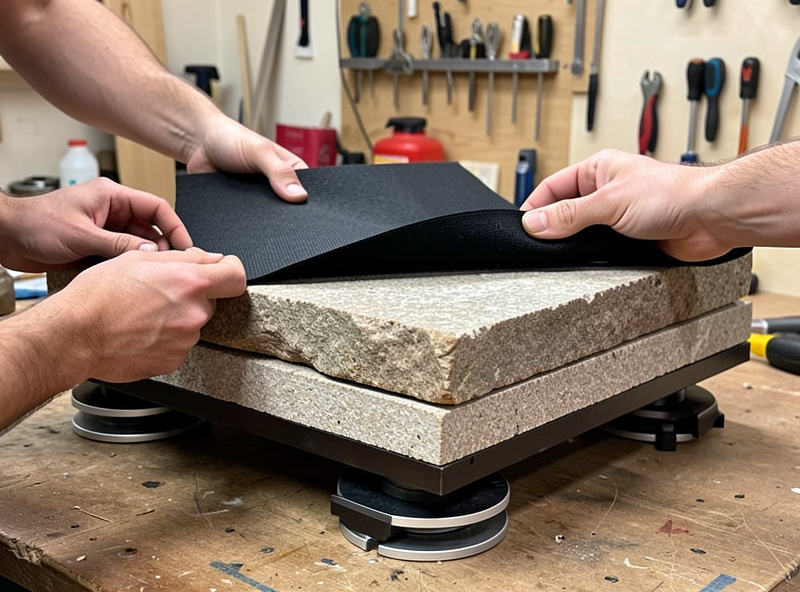
Every effective isolation platform does three jobs: resist movement with mass, absorb ringing with damping, and filter floor energy with decoupling. The order matters as much as the materials. Mass goes on top so the deck has a stable, dead surface to sit on. Damping goes in the middle so vibration entering from below is converted to heat before it reaches the deck. Decoupling goes on the bottom so the whole assembly is filtered from the floor. Reverse any of these — soft material on top, mass on the bottom — and the platform underperforms or sways.
The classic mistake is stacking compliant layers with no mass between them, which oscillates instead of isolating. The second is using mass alone with no decoupling, which just gives floor vibration a heavier path into the deck. Keep the stack heavy-on-top, lossy-in-the-middle, compliant-underneath and you cannot go far wrong.
Choosing the Mass Layer
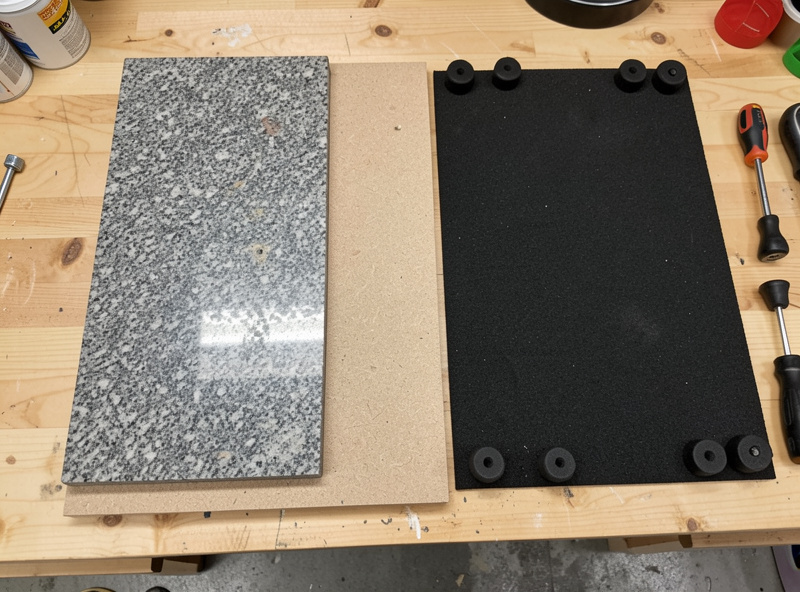
For the top, you want something stiff and dead. A paving slab or offcut of granite or slate is cheap, massive, and inert; a stone countertop offcut from a fabricator is ideal if you can get one cut to size. If you would rather work in the shop, a constrained-layer board — two sheets of thick MDF or plywood bonded around a layer of damping compound or even bituminous sheet — is lighter, easy to cut, and genuinely quiet because the core shears as the panels flex.
This is the natural crossover with the workshop side of the hobby. The same CNC that routes wall panels for the smart home will surface and cut a constrained-layer top flat and square, which matters because a platform that is not flat reintroduces wobble. If you want the full plinth-and-platform woodworking angle, my friends over at the CNC side of things cover routing these blanks; here I will keep it to the audio result. Whatever the top, aim for enough mass that it does not move under the spinning platter and stylus drag — a slab in the few-kilo range for a light deck, heavier for a heavy one.
The Damping Layer
Between the mass and the feet goes a thin lossy layer that kills ringing in the platform itself. A sheet of sorbothane, a constrained-layer damping mat, cork, or dense closed-cell foam all work. It does not need to be thick — its job is to absorb the high-frequency ring of the mass layer, not to decouple, which is the feet’s job. Bond it or simply sandwich it; a thin bead of flexible adhesive at the corners stops it creeping.
Skip this layer and a bare stone slab can actually ring at certain frequencies, adding its own coloration. Adding the damping sheet is the cheapest part of the build and the one people most often leave out, then wonder why the platform sounds hard.
The Decoupling Feet
Underneath go the feet that filter floor energy. Matched sorbothane pucks, purpose-made isolation feet, or spring absorbers all work, and the choice depends on your floor. On a solid floor, sorbothane feet sized to the combined weight of platform plus deck are plenty. On a bouncy suspended floor where footfall dominates, spring absorbers reach lower and isolate better, at the cost of some sway. Either way, weigh the loaded platform, divide by the number of feet, and size the feet for that per-foot load — the same load-matching rule that governs every compliant support.
Three feet self-level on an uneven floor; four spread the load and add stability. I usually go with four under a rectangular platform and shim if needed, then re-level after the feet have settled for a day.
A Simple Build Plan
| Layer | Material Option | Job | Notes |
|---|---|---|---|
| Top (mass) | Granite/slate slab or constrained MDF | Stable, dead surface | Must be flat and square |
| Middle (damping) | Sorbothane sheet, cork, or CLD mat | Kills platform ring | Thin; most-skipped layer |
| Bottom (decouple) | Sorbothane feet or spring absorbers | Filters floor energy | Size to per-foot load |
Tuning and Testing the Result
Once built, test it the same way you diagnose any isolation problem. Drop the needle on a quiet groove at zero volume and walk firmly around the deck; if the stylus stays calm where it used to jump, the decoupling is working. Rap the platform top with a knuckle — a short dead thud means the damping is doing its job; a ring means you need more or better damping material. If the deck sways too long after a bump, your feet may be too soft for the load; if footfall still comes through, they may be too stiff.
A DIY platform is cheap enough to iterate, which is its great advantage. Swap the feet, add a damping sheet, change the slab — each change is a few dollars and a few minutes. Once it is dialed in, the platform sits on a rigid stand and feeds the rest of the chain, so revisit your tracking force and alignment afterward, since a steadier deck holds those settings better.
Frequently Asked Questions
What materials do I need for a DIY isolation platform?
A heavy rigid top (granite, slate, or constrained-layer MDF), a thin damping sheet (sorbothane, cork, or a damping mat), and compliant decoupling feet (sorbothane pucks or spring absorbers) sized to the loaded platform’s weight. That three-layer stack is the whole recipe.
Does a DIY platform work as well as a commercial one?
Close to it. A correctly layered DIY platform reaches roughly 80 to 90 percent of an engineered unit’s performance for a fraction of the cost. The key is the layer order and matching the feet to the load, not the brand on the box.
What is the most common DIY platform mistake?
Stacking compliant layers with no mass between them, which oscillates instead of isolating, and skipping the middle damping layer so a bare stone slab rings. Keep it heavy on top, lossy in the middle, compliant underneath.
How heavy should the platform top be?
Heavy enough not to move under the spinning platter and stylus drag. A few kilograms suits a light deck; heavier decks want a heavier slab. More mass generally helps, limited only by what your stand and floor can safely carry.
Do I need to glue the layers together?
Not fully. A thin bead of flexible adhesive at the corners keeps the damping sheet from creeping, but the layers mostly work by sitting in contact under the deck’s weight. Avoid rigid glue everywhere, which can couple layers you want partly decoupled.