Setting up a turntable for the first time takes about an hour and four cheap habits: assemble the deck, balance the tonearm to zero, set tracking force with a gauge, and add anti-skate. Do those in order on a level surface and even a budget belt-drive will track cleanly. The single biggest beginner mistake is skipping the gauge and trusting the dial — on my gauge, factory counterweight scales are routinely 0.2 grams off.
This is the start-to-finish walkthrough I wish every new owner got with the box. It assumes nothing, names every part, and hands you off to the deeper guides when an adjustment deserves its own page. If you have never set a stylus down before, start here, then work through the full turntable setup and calibration guide as you grow more confident.
What Comes in the Box
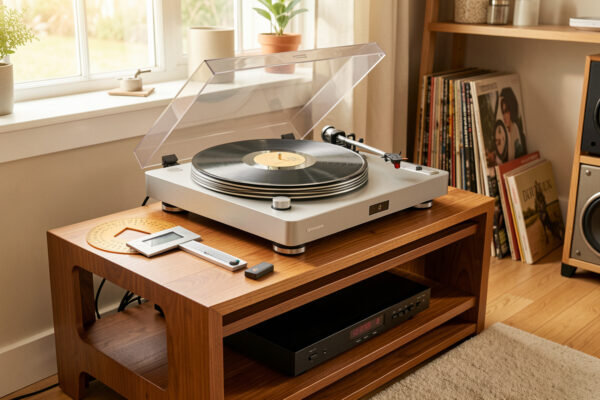
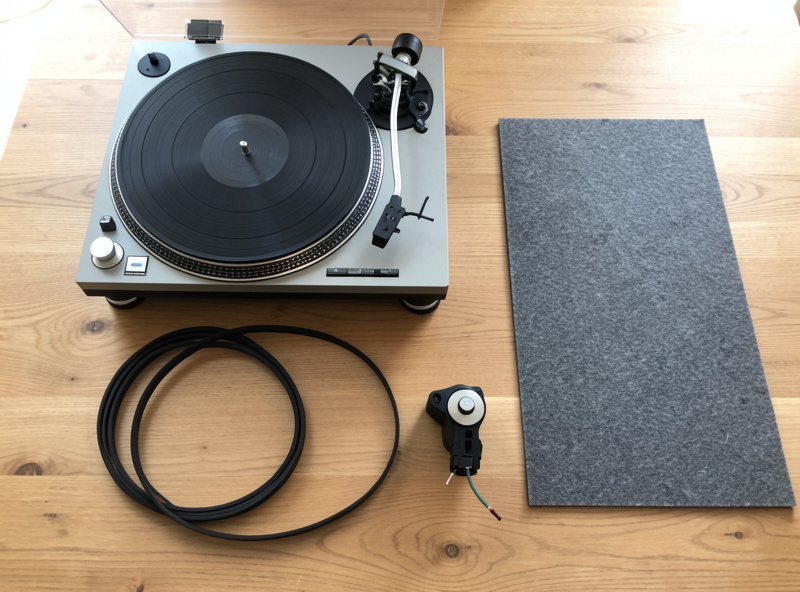
Before anything else, lay the parts out and name them, because the rest of this makes no sense otherwise. A typical belt-drive deck ships as: the plinth (the base with the motor and tonearm), the platter (the heavy disc the record sits on), a drive belt (a thin rubber loop), a slipmat or felt mat, the counterweight (the cylindrical weight for the back of the arm), an anti-skate weight or dial, and a headshell with the cartridge either pre-mounted or boxed separately. Many decks include a flimsy cardboard alignment card — set it aside, you will want a real protractor later.
Identify each piece before you assemble. The most common first-timer error is forcing the platter on without fitting the belt, or seating the belt on the wrong pulley. Read the one-page diagram that ships with the deck; it exists precisely because these parts go together in one correct order.
Step 1: Place the Deck on Something Level and Solid
Where the turntable sits matters more than beginners expect. It needs a rigid, level surface that does not flex when you walk past. A wobbly shelf turns every footstep into a skip, and an unlevel deck lets the tonearm drift and throws off anti-skate. Put a small bubble level on the platter mount and adjust the surface or the deck’s feet until it reads level front-to-back and side-to-side.
Keep the deck away from the speakers if you can. Bass energy travels through the floor and the air and feeds straight back into the stylus as a low hum or, in bad cases, feedback howl. If your only spot is near the speakers or on a bouncy floor, an isolation platform helps — I cover the options in the turntable vibration isolation guide. Level and solid first; everything downstream assumes it.
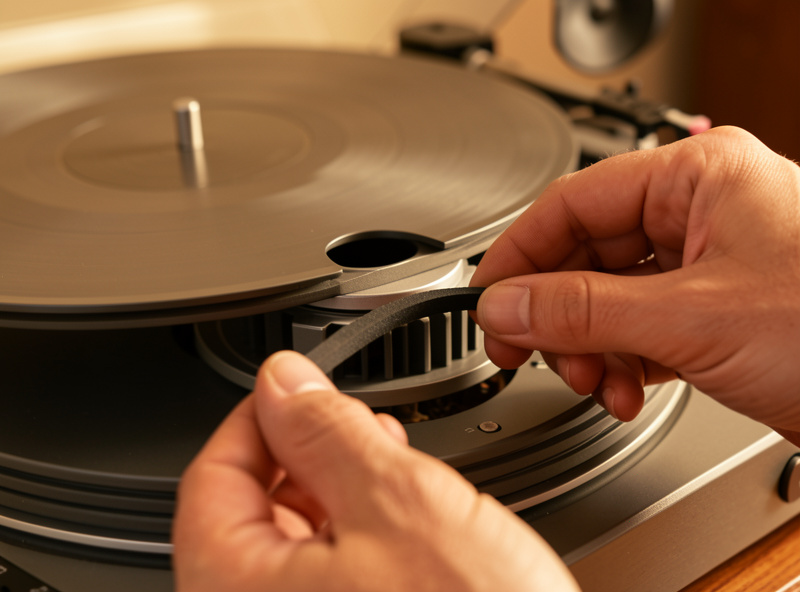
Step 2: Fit the Belt and Platter
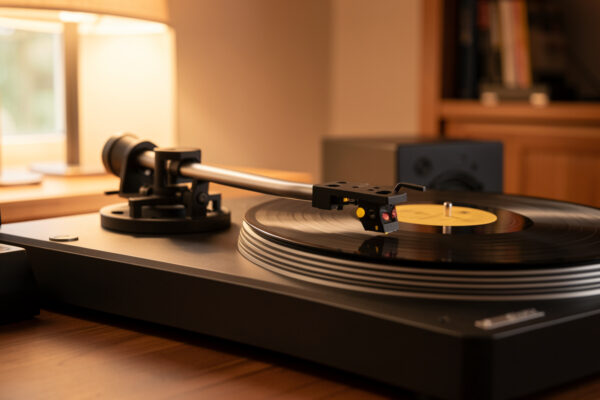
On a belt-drive deck, the platter usually lifts off to reveal the motor pulley. Loop the drive belt around the platter’s inner rim and the motor pulley, making sure it is not twisted, then lower the platter onto the spindle and bearing. The belt should sit flat and run true; a twisted or pinched belt causes speed wobble you will hear as wow on sustained notes. Direct-drive decks skip this step entirely — the platter sits directly on the motor.
Fit the slipmat on top of the platter. Felt, rubber, and cork all behave a little differently, and once you are comfortable it is worth experimenting — I compare them in the platter mat guide — but the mat that came with the deck is fine to start.
Step 3: Mount the Cartridge (If It Is Not Pre-Mounted)
Many starter decks arrive with the cartridge already mounted and roughly aligned, in which case you can move on. If yours is separate, bolt it into the headshell and connect the four tiny colored wires to their matching pins: red to right positive, green to right ground, white to left positive, blue to left ground. They only fit one way per color, but they are fiddly, so use tweezers and patience.
Once mounted, the cartridge needs aligning with a protractor so the stylus traces the groove correctly — but that comes after you balance the arm. If you are starting with a fresh cartridge, the geometry step is worth doing properly; my cartridge alignment guide walks through overhang and null points. For your very first setup with a pre-mounted cartridge, the factory alignment will get you playing.
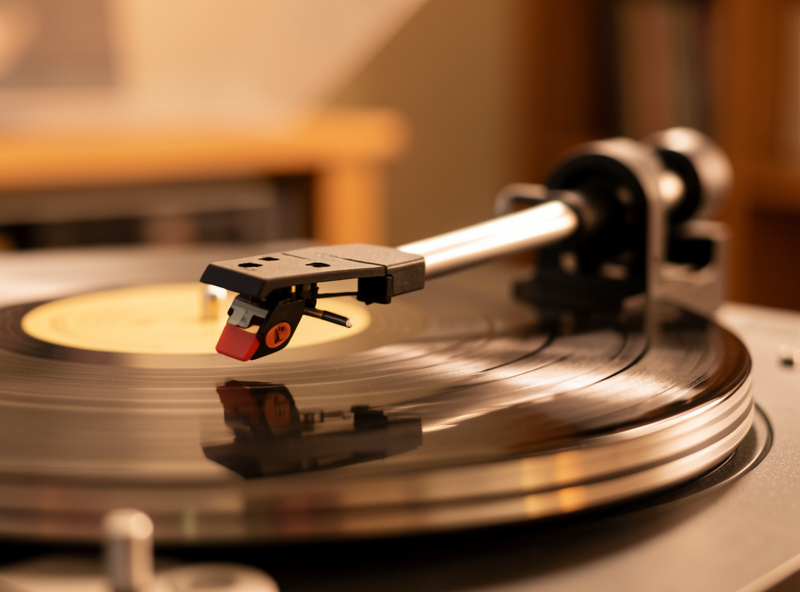
Step 4: Balance the Tonearm to Zero
This is the step that separates a careful setup from a careless one. With the cueing lever down and anti-skate set to zero, gently rotate the counterweight onto the back of the arm. Without touching the cueing lever, adjust the counterweight until the tonearm floats perfectly level — neither dropping toward the platter nor rising toward the rest. This is the arm’s neutral balance, the zero point everything else is measured from.
Take your time here. The arm should hang dead level and stay there when you nudge it. Once it floats, hold the counterweight still and rotate only the numbered front ring to read zero. Now the dial is calibrated to the arm’s actual balance, and you can dial in real tracking force.
Step 5: Set Tracking Force
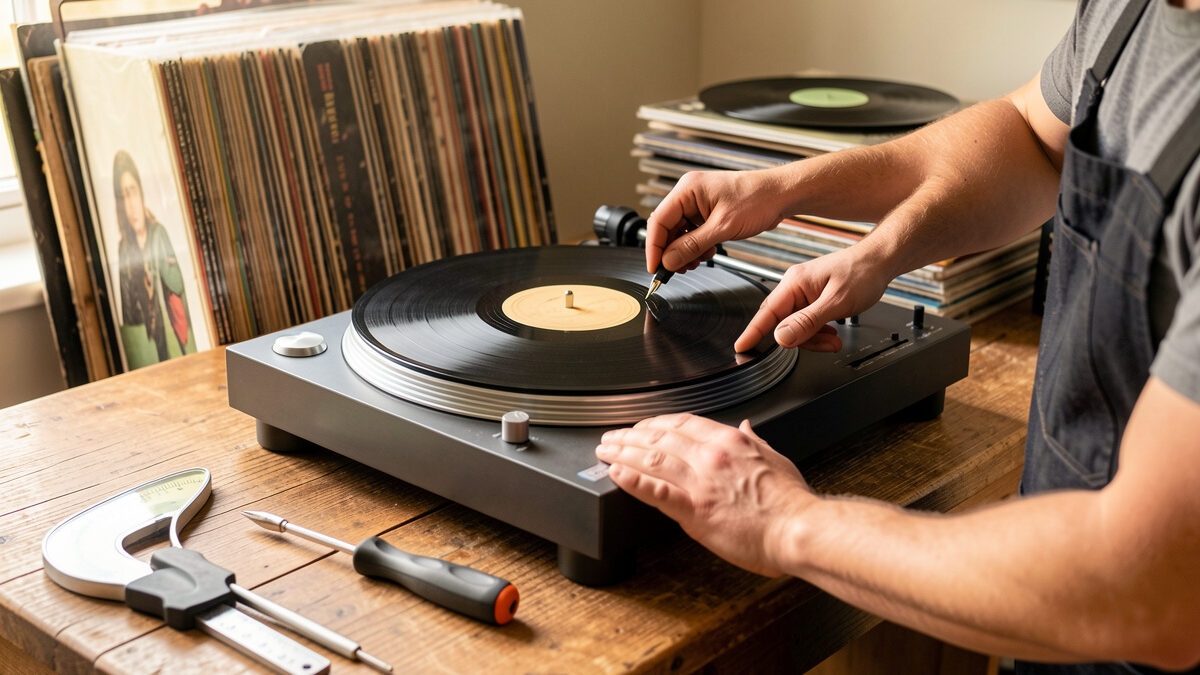
Tracking force is the downward weight the stylus presses into the groove, and your cartridge has a recommended figure printed on its spec sheet — most moving-magnet cartridges want 1.5 to 2.0 grams. Turn the whole counterweight (not just the ring) until the dial reads your target. That gets you close. To get it right, drop the stylus onto a digital stylus-force gauge and read the actual force to 0.01 grams, then nudge the counterweight until the gauge matches the spec.
Do not skip the gauge. The dial assumes the counterweight is perfectly machined and the arm bearing is frictionless, and neither is quite true. The full method, including how to find your cartridge’s number and why too light is worse than slightly heavy, is in the tracking force adjustment guide.
Step 6: Set Anti-Skate
The final adjustment before you play: anti-skate. The spinning record drags the stylus inward toward the center, and anti-skate applies a gentle outward force to balance it so the stylus sits evenly between the two groove walls. A reliable starting point is to set the anti-skate value equal to your tracking force — 1.8 grams of VTF, 1.8 on the anti-skate dial. Refine from there if you hear one channel mistracking. The anti-skate setting guide covers the tests that confirm it.
The First-Setup Checklist
Here is the whole sequence in order, with what each step needs and the goal you are aiming for:
| Step | What You Need | Goal |
|---|---|---|
| Place the deck | Bubble level | Level, rigid, away from speakers |
| Fit belt and platter | — | Belt untwisted, platter seated |
| Mount cartridge | Screwdriver, tweezers | Bolted, wires on correct pins |
| Balance the arm | — | Arm floats level, dial set to zero |
| Set tracking force | Digital stylus gauge | Cartridge spec, often 1.5–2.0 g |
| Set anti-skate | Dial or weight | Roughly equal to tracking force |
Your First Play
Clean the record with a carbon-fiber brush, lift the cueing lever, position the stylus over the lead-in groove, and lower it gently with the lever rather than by hand. The music should come through clear and centered, with no skating across the surface and no harsh distortion on loud passages. If something sounds wrong — a hum, a skip, one weak channel — it almost always traces back to a step above: a loose ground wire, anti-skate, or tracking force. Setup is a chain, and a clean first play means every link held.
Frequently Asked Questions
How long does it take to set up a turntable for the first time?
About an hour for a careful first setup, including balancing the arm, setting tracking force with a gauge, and adding anti-skate. Once you know your deck, a recheck takes ten minutes. Rushing the first setup is the main cause of skipping and distortion.
Do I need any tools to set up a turntable?
At minimum, a digital stylus-force gauge and a bubble level. A two-point alignment protractor is worth adding if your cartridge is not pre-mounted. The cardboard card in the box is not accurate enough to rely on for cartridge alignment.
What is the most important step for a beginner?
Balancing the tonearm to zero and then setting tracking force with a gauge. Trusting the counterweight dial instead of a gauge is the most common beginner mistake, and it leaves the stylus a quarter gram out of spec, which causes mistracking and record wear.
Why is my new turntable humming?
A hum is usually a grounding issue. Check that the ground wire from the turntable is connected to the phono stage or amplifier ground terminal, and that the cartridge wires are seated on the correct pins. Placing the deck too close to the speakers can also feed back as a low hum.
Can I damage records with a brand-new turntable?
Yes, if it is set up wrong. Tracking force set too light lets the stylus skip and carve distortion into the groove permanently. Setting tracking force and anti-skate correctly with a gauge protects your records from the very first play.
Is the factory cartridge alignment good enough?
For a pre-mounted cartridge on a starter deck, the factory alignment will get you playing music cleanly. When you fit your own cartridge or upgrade, align it with a two-point protractor so the stylus traces the groove correctly at the null points.