To digitize vinyl records you connect your turntable to a computer through a phono stage, set your recording level so peaks land just below clipping, record each side as one continuous file at 24-bit/96kHz, then split it into tracks and tag it. The whole process takes about fifteen minutes of attention per side, and most of the quality is decided before you ever press record.
I’ve digitized everything from thrift-bin rescues to originals I didn’t want to wear out, and the steps below are the exact sequence I follow on my own bench. This is the hands-on companion to the broader complete guide to digitizing vinyl — that one explains the why, this one is the click-by-click how.
What You Need Before You Start
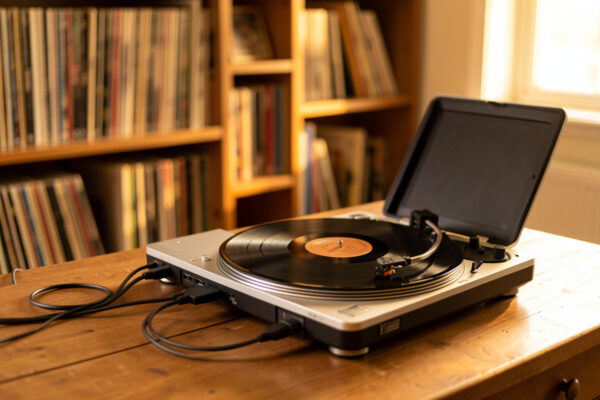
You need four things: a turntable, a phono stage (built into a USB turntable or separate), an analog-to-digital converter, and recording software. If you own a USB turntable, the phono stage and converter are inside it and you just need a USB cable and software. If you’re using a real deck, you’ll run it through a phono preamp into an audio interface for vinyl digitizing.
The software can be free — I point most beginners at Audacity, and I keep a full Audacity recording walkthrough for that reason. If you want to compare the paid options first, the best software for digitizing vinyl roundup covers them. Whatever you use, the steps that follow are the same.
Step 1: Clean the Record First
Clean every record before you capture it, because every pop you record is permanent in the file. A carbon-fiber brush handles loose dust; embedded grime needs a wet clean. I’ve turned records that sounded hopeless into clean transfers with nothing more than a proper wash and a fresh inner sleeve. Skip this and you’ll spend far longer trying to declick the file afterward — and declicking always costs you a little fidelity.
For the full method see cleaning records before digitizing and my wet cleaning guide. Static is the sneaky one — a charged record pulls dust back onto the surface mid-play, so deal with it using the steps in my anti-static guide before the needle ever drops.
Step 2: Check Your Turntable Setup
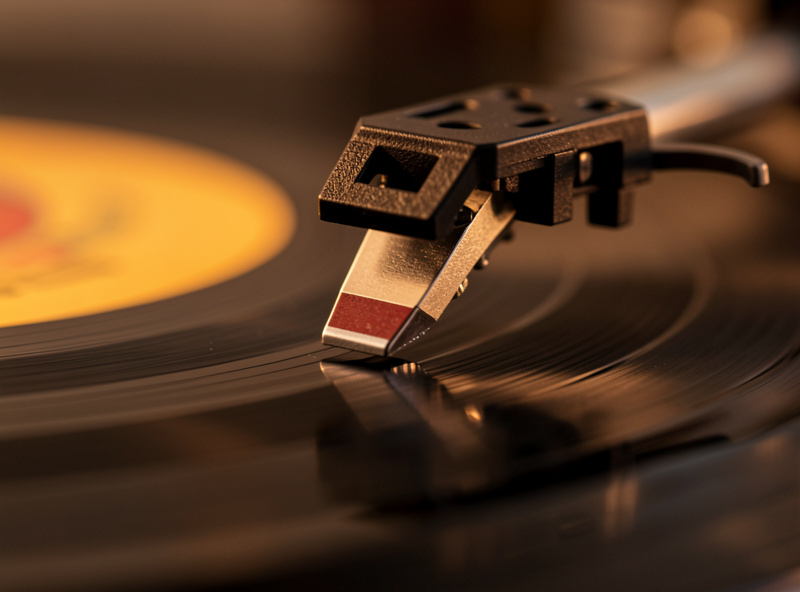
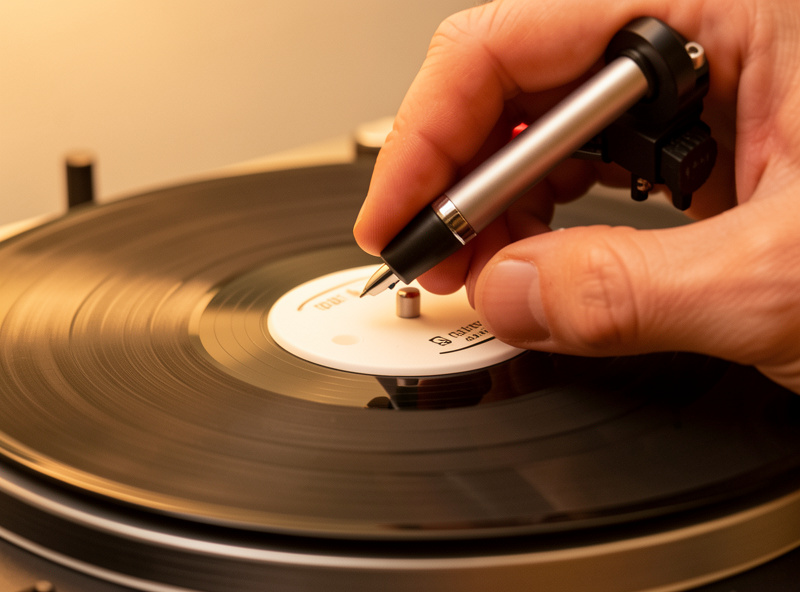
A mistracking stylus bakes distortion into the file that sounds exactly like a worn record, so confirm your setup before a session that matters. Set tracking force with a digital gauge to the middle of the cartridge’s spec range, dial anti-skate to match, and make sure the alignment is good. If any of that is unfamiliar, work through my tracking force and anti-skate guide and the full setup and calibration guide first.
This step is where the “right effort, wrong place” mistake happens. People agonize over sample rates while feeding the converter a signal already mangled by a stylus that’s tracking 0.5g too light. Get the front end right once and every capture afterward benefits.
Step 3: Connect the Signal Chain
Run the turntable’s output through the phono stage, then into your converter’s line input — never a raw phono signal straight into a line input. That single mistake produces the thin, quiet, bass-shy recording that beginners constantly ask about, and no EQ fully fixes it because the RIAA curve hasn’t been reversed. If your deck has a built-in phono preamp with a “phono/line” switch, set it to line out; otherwise add a separate phono stage. My phono preamp explainer covers exactly why this link is non-negotiable.
If you have a ground wire from the turntable, connect it to the phono stage’s ground terminal — that kills the low hum that otherwise sits under quiet passages. Then connect the converter to your computer by USB and make sure the operating system sees it as an input device.
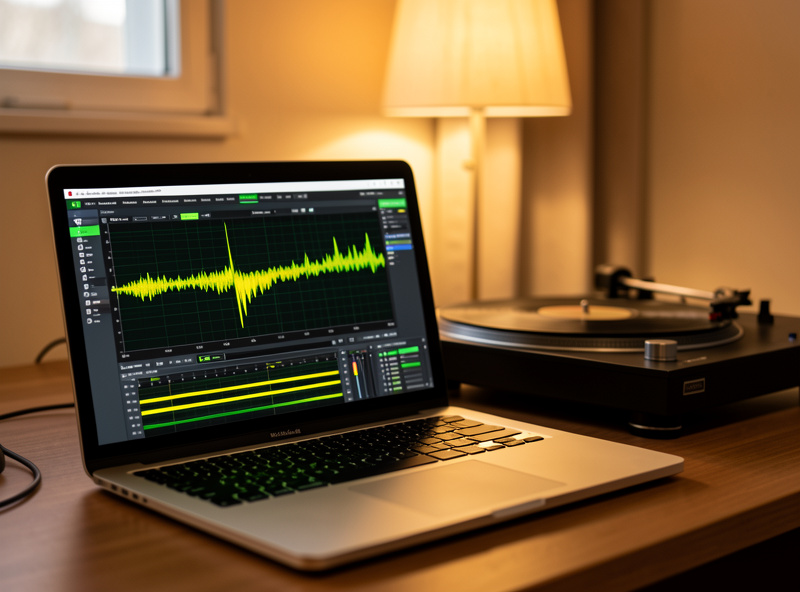
Step 4: Set Your Recording Levels
Open your software, select the converter as the input, and play the loudest passage on the side while watching the meters. Set the input gain so those peaks land between −6 and −3 dBFS — loud enough to use the converter’s range, with enough headroom that nothing clips. Clipping is the one error you cannot undo, so when in doubt, err quieter; you can normalize a slightly low capture, but a clipped one is gone. I learned that the hard way — an early transfer clipped on the choruses and I only caught it after the record was back on the shelf, so I had to pull it and start the side over.
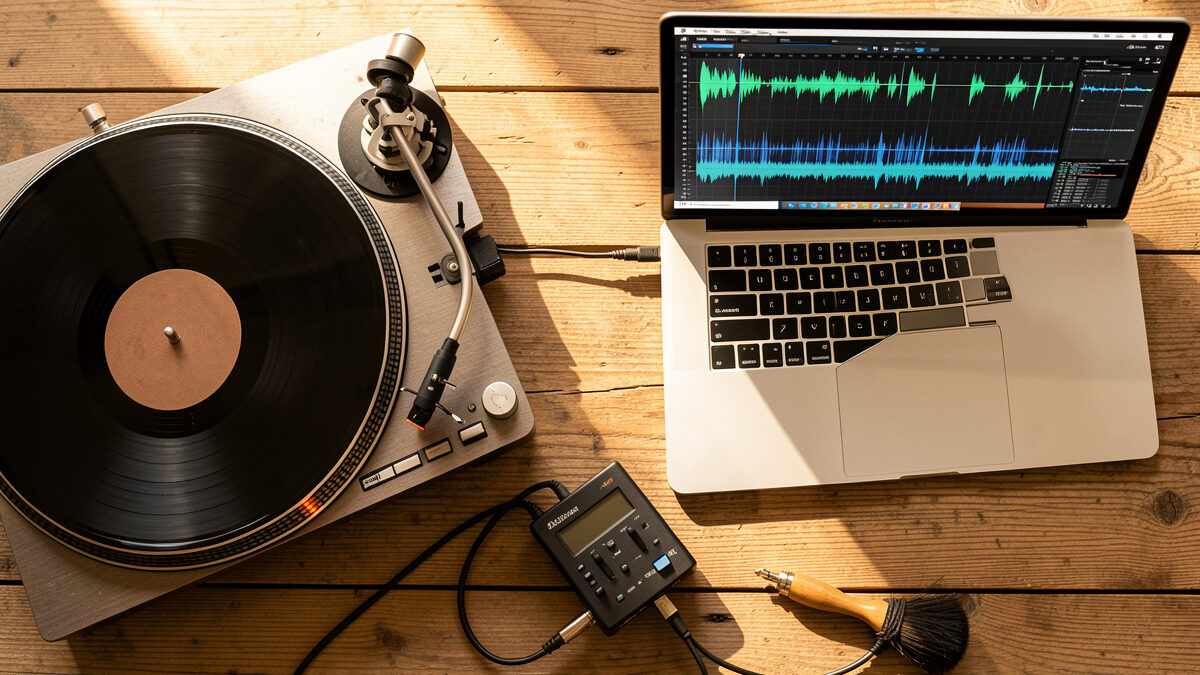
Step 5: Record the Side
Press record, then drop the needle — in that order, so you capture a few seconds of silent lead-in. Let the entire side play through without touching anything; don’t pause between tracks and don’t adjust gain mid-side. Record the whole side as one continuous file and split it later. When the side ends, stop the recording, flip the record, and repeat. Resist the urge to babysit the meters — once levels are set, the machine does the work.
| Setting | Use This | Avoid |
|---|---|---|
| Bit depth | 24-bit | 16-bit (less headroom) |
| Sample rate | 96kHz | 192kHz (wasted space) |
| Peak level | −6 to −3 dBFS | 0 dBFS (clips) |
| Capture unit | Whole side, one file | Track-by-track |
| Master format | FLAC / WAV | MP3 (lossy master) |
Step 6: Split, Clean, and Tag
Now turn the raw side into an album. Split the continuous file into tracks at the silences between songs, trim the lead-in and run-out, and apply click removal only where you actually hear a tick — heavy, blanket noise reduction smears the music and sounds worse than the pops it removes. Use it surgically.
Then tag each track — artist, album, title, year — and embed the cover art, because untagged files are miserable to live with later. Export a lossless FLAC master, and make compressed MP3 or AAC copies from that master for your phone or car. Never digitize straight to a lossy format: you can always compress a lossless file later, but you can never recover what compression throws away.
Step 7: Back It Up
A single drive is not a backup. Keep your masters in at least two places, and push anything irreplaceable to cloud storage as well. A vinyl archive is hours of capture time you can’t easily redo, and the file becomes the only copy the moment a record is damaged or sold. Organize by artist and album as you go so the collection stays usable as it grows.
Frequently Asked Questions
How long does it take to digitize a record?
About fifteen minutes of attention per side: a quick clean, level setting, then real-time playback of the full side. Splitting tracks and tagging adds another ten minutes per album. The recording itself runs in real time, so a 20-minute side takes 20 minutes to capture.
Can I digitize vinyl without a computer?
Yes. Some turntables and standalone recorders capture straight to a USB stick or SD card. The quality depends on the same signal chain, but you lose the editing, track-splitting, and tagging control that recording into computer software gives you.
Do I record each track separately?
No. Record the entire side as one continuous file, then split it into individual tracks afterward at the silences between songs. Stopping and starting between tracks risks clipping transients and missing the gaps.
What level should I record at?
Set your input gain so the loudest peaks reach between minus 6 and minus 3 dBFS. That uses the converter’s range without clipping. Clipping cannot be undone, so when unsure, record a little quieter and normalize afterward.
Why does my recording have a low hum?
That hum is usually a grounding issue. Connect the turntable’s ground wire to the phono stage’s ground terminal, and keep the turntable away from power supplies and dimmer switches, which inject hum into the signal.
Should I use noise reduction on the whole recording?
No. Apply click removal only where you hear an actual tick, and avoid blanket noise reduction. Heavy processing smears the music and dulls the high frequencies, often sounding worse than the surface noise it removes.